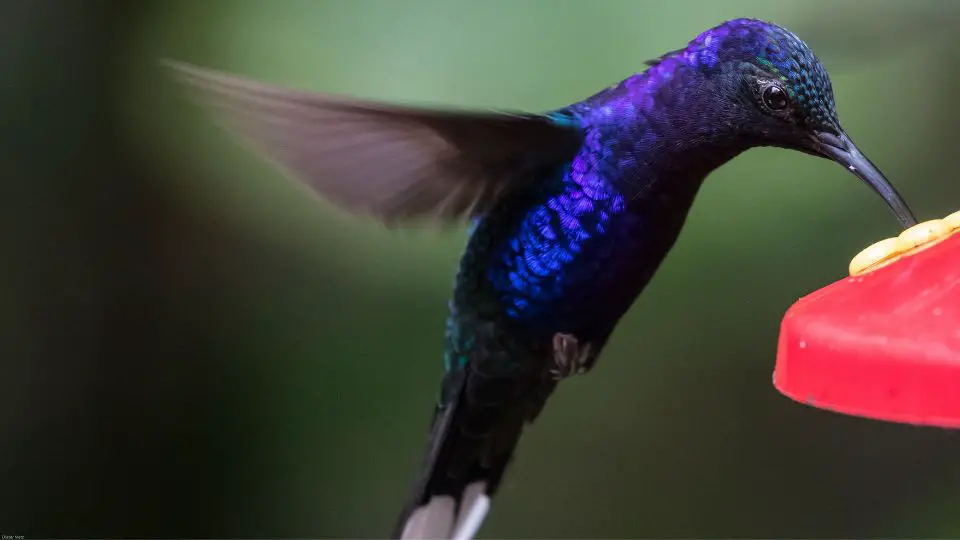
Cleaning hummingbird feeders regularly is essential as old and rancid nectar can be a carrier of disease for hummingbirds. There are three good true and tried methods to keeping your feeders clean and ready to eat off of. Giving a scrub with mild soap and water, a mild sanitizing with vinegar and water, or a deep disinfection with bleach and water.
Cleaning hummingbird feeders is important and helps keep hummingbirds healthy. With supplies you have at home, you can easily clean your feeders and help support these tiny birds. Hummingbird feeders that hold nectar can get sticky and rancid, and since that it is a large part of a hummingbird’s diet, its vital to keep it clean.
Once you’ve attracted hummingbirds, they will return to your yard each year, and you can enjoy bird watching even in the smallest of spaces. You’ll want to keep them healthy and visiting you frequently so read on for 3 different methods for cleaning hummingbird feeders. This step-by-step guide will show you how to clean your hummingbird feeders and keep them fresh with nectar for these tiny backyard birds.
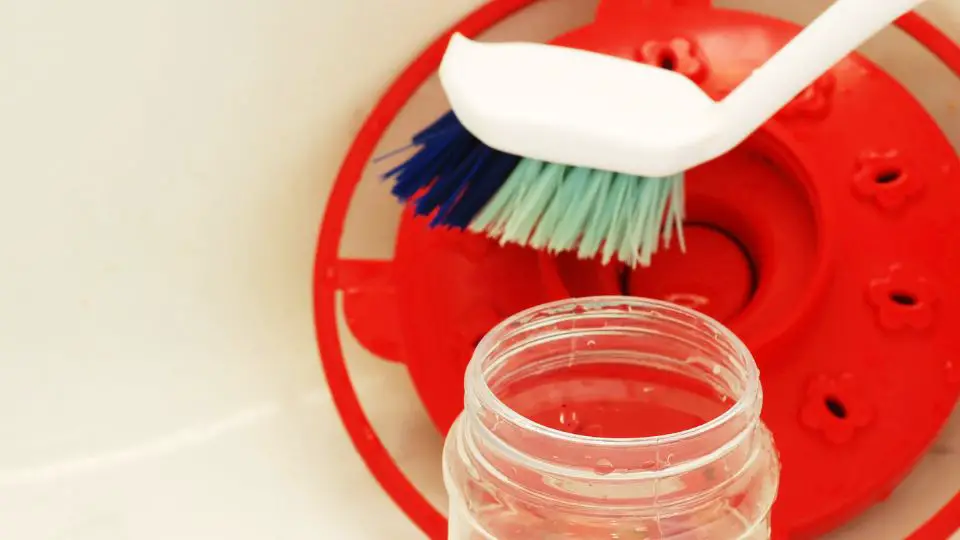
Table of Contents
Cleaning Hummingbird Feeders
There are many different types of hummingbird feeders—flat, bottle-shaped, plastic, and glass—and they will all feed your local hummingbird population. What style of feeder you choose for feeding hummingbirds is up to you!
Regardless, the most important part of maintaining your local hummingbird population is keep their feeders clean. Hot weather can make the sugar solution ferment and make the hummingbird food cloudy. In hot weather, cleaning your feeders every 2-3 days is important. In cooler weather, changing the feeders twice per week is sufficient.
By making sure to scrub all the feeder parts, perches, ant moat or a bee guard, you can help prevent the spread of disease on the feeders. Here are a few different methods to clean your feeders.
Method 1: Good Old Soap And Water
Using very hot water and a bit of mild dish soap, and your cleaning solution is good to go! Simply drop a few drops of dish soap on a rag or bottle brush (or an old toothbrush!) and scrub away. Rinse with hot water. Make sure all the soap residue has been washed away, so your hummers get the cleanest feeder possible. If you clean your feeders before they get really dirty, this is all you need to make them squeaky clean and ready for new food.
Method 2: Cleaning With White Vinegar And Water
One part vinegar to 2 parts water will make an excellent cleaning solution if you feel like your feeders have gotten dirty. Simply mix the vinegar and water together, and scrub with a bottle brush or an old toothbrush. Rinse with hot water, and that’s it!
If some of the scum remains after cleaning with vinegar, fill your sink with water and add several ounces of hydrogen peroxide. Let the feeder sit in the solution for several hours, and then scrub again. Rinse with warm water after the feeder is clean.
Method 3: Cleaning with Bleach and Water
1 part bleach to 9 parts water makes a sanitizing solution if your feeders are moldy or extremely dirty. Mix carefully and scrub with your brush of choice. Rinse thoroughly with HOT water; your feeders should be clean and ready to hold your new food!
Bleach should be saved for feeders with black mold. Because bleach, even in diluted form, is a powerful cleaner, save it for extremely dirty feeders. If you’re concerned that your feeders are contaminated, then bleach can be an effective way of removing any mold or fungus.
Because the bird feeders are usually plastic, there are some concerns that the feeder will absorb the bleach solution, harm the hummingbird, or contaminate the new food. Deciding to clean with bleach is up to each person, but unless your feeder is especially dirty, as noted above, a regular cleaning with bleach is not needed.
How Do I Know It’s Time To Clean?
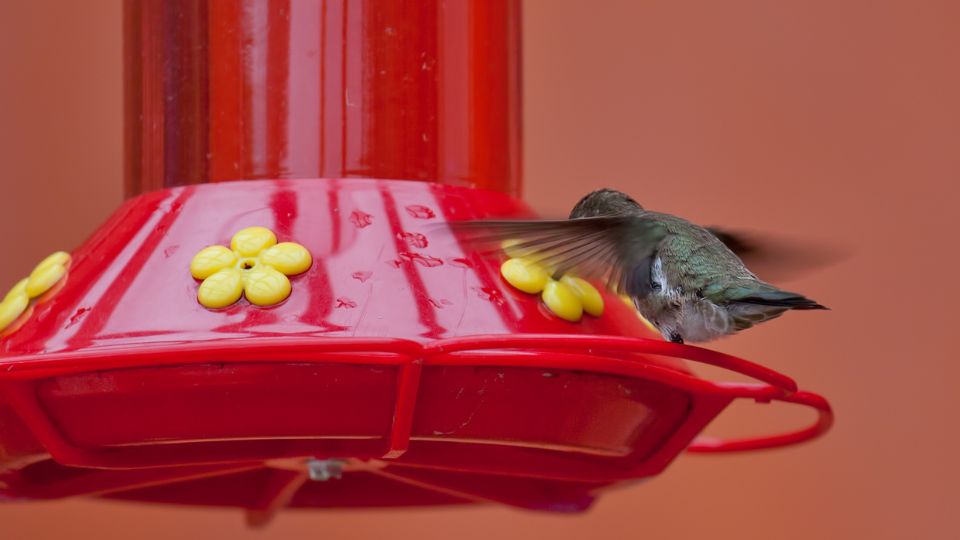
Monitor the weather and change as directed above. Other signs include the solution turning cloudy, ants or wasps invading the feeder, and the feeder looking dirty in general. When you see one or more of these signs, it’s time to bring your feeders inside and clean them.
Step By Step Guide For Cleaning
Step 1: Decide what solutions you’ll use and gather your materials.
Choose one of the solutions mentioned above and get it ready. Grab your bottle brush or old toothbrush, and lay out a towel where you can set the feeder once you’ve cleaned it.
Step 2: Rinse out your feeders with plain water
Open and empty your feeders, and then rinse first with warm water. This ensures that any debris or bugs are cleared off before you begin cleaning. It’s not necessary to completely disassemble the feeders before cleaning. Just make sure to remove the lids of flat feeders and unscrew the bottles from the bases of bottle feeders.
Step 3: Clean with your chosen solution
Take your brush and go! Wipe down all surfaces of your feeders and get in between any designs or nooks and crannies in the feeder. The toothbrush comes in handy because it is small, but there are also commercially made brushes with special cleaning bristles that can get inside the holes and around the intricate parts of the feeder.
Consider Pipe Cleaners for extra clean Feeding Ports.
Pipe Cleaners are perfect for slipping through the feeding ports and cleaning the buildup of grime that the sugar water leaves behind. Pipe Cleaners are inexpensive and easy to store and help clean your feeder!
Step 4: Allow to Air Dry
Rinse the feeders again, in warm water and lay them on the towel to air dry. This will take some time, but it helps ensure your bird feeders stay clean and mold free.
Step 5: Fill with fresh solution.
Hummingbirds eat nectar from flowers, small insects, and a DIY nectar solution. There‘s a recipe below on how to make a quick and easy nectar recipe for your hummingbirds.
